This post may contain affiliate links, please read our disclosure policy for details.
If you’ve ever dreamed of baking fresh, warm bread at home but felt totally intimidated by the process — this post is for you.
This easy no-knead bread was the first loaf of bread I ever made from scratch. I didn’t grow up baking — in Colombia, we’re lucky to have amazing bakeries on every corner, so bread-making was never something I learned at home. But a few months ago, I decided I wanted to try making bread myself and came across No Knead Bread Central. His videos and tutorials made it so simple to follow along, and I was amazed by the results.

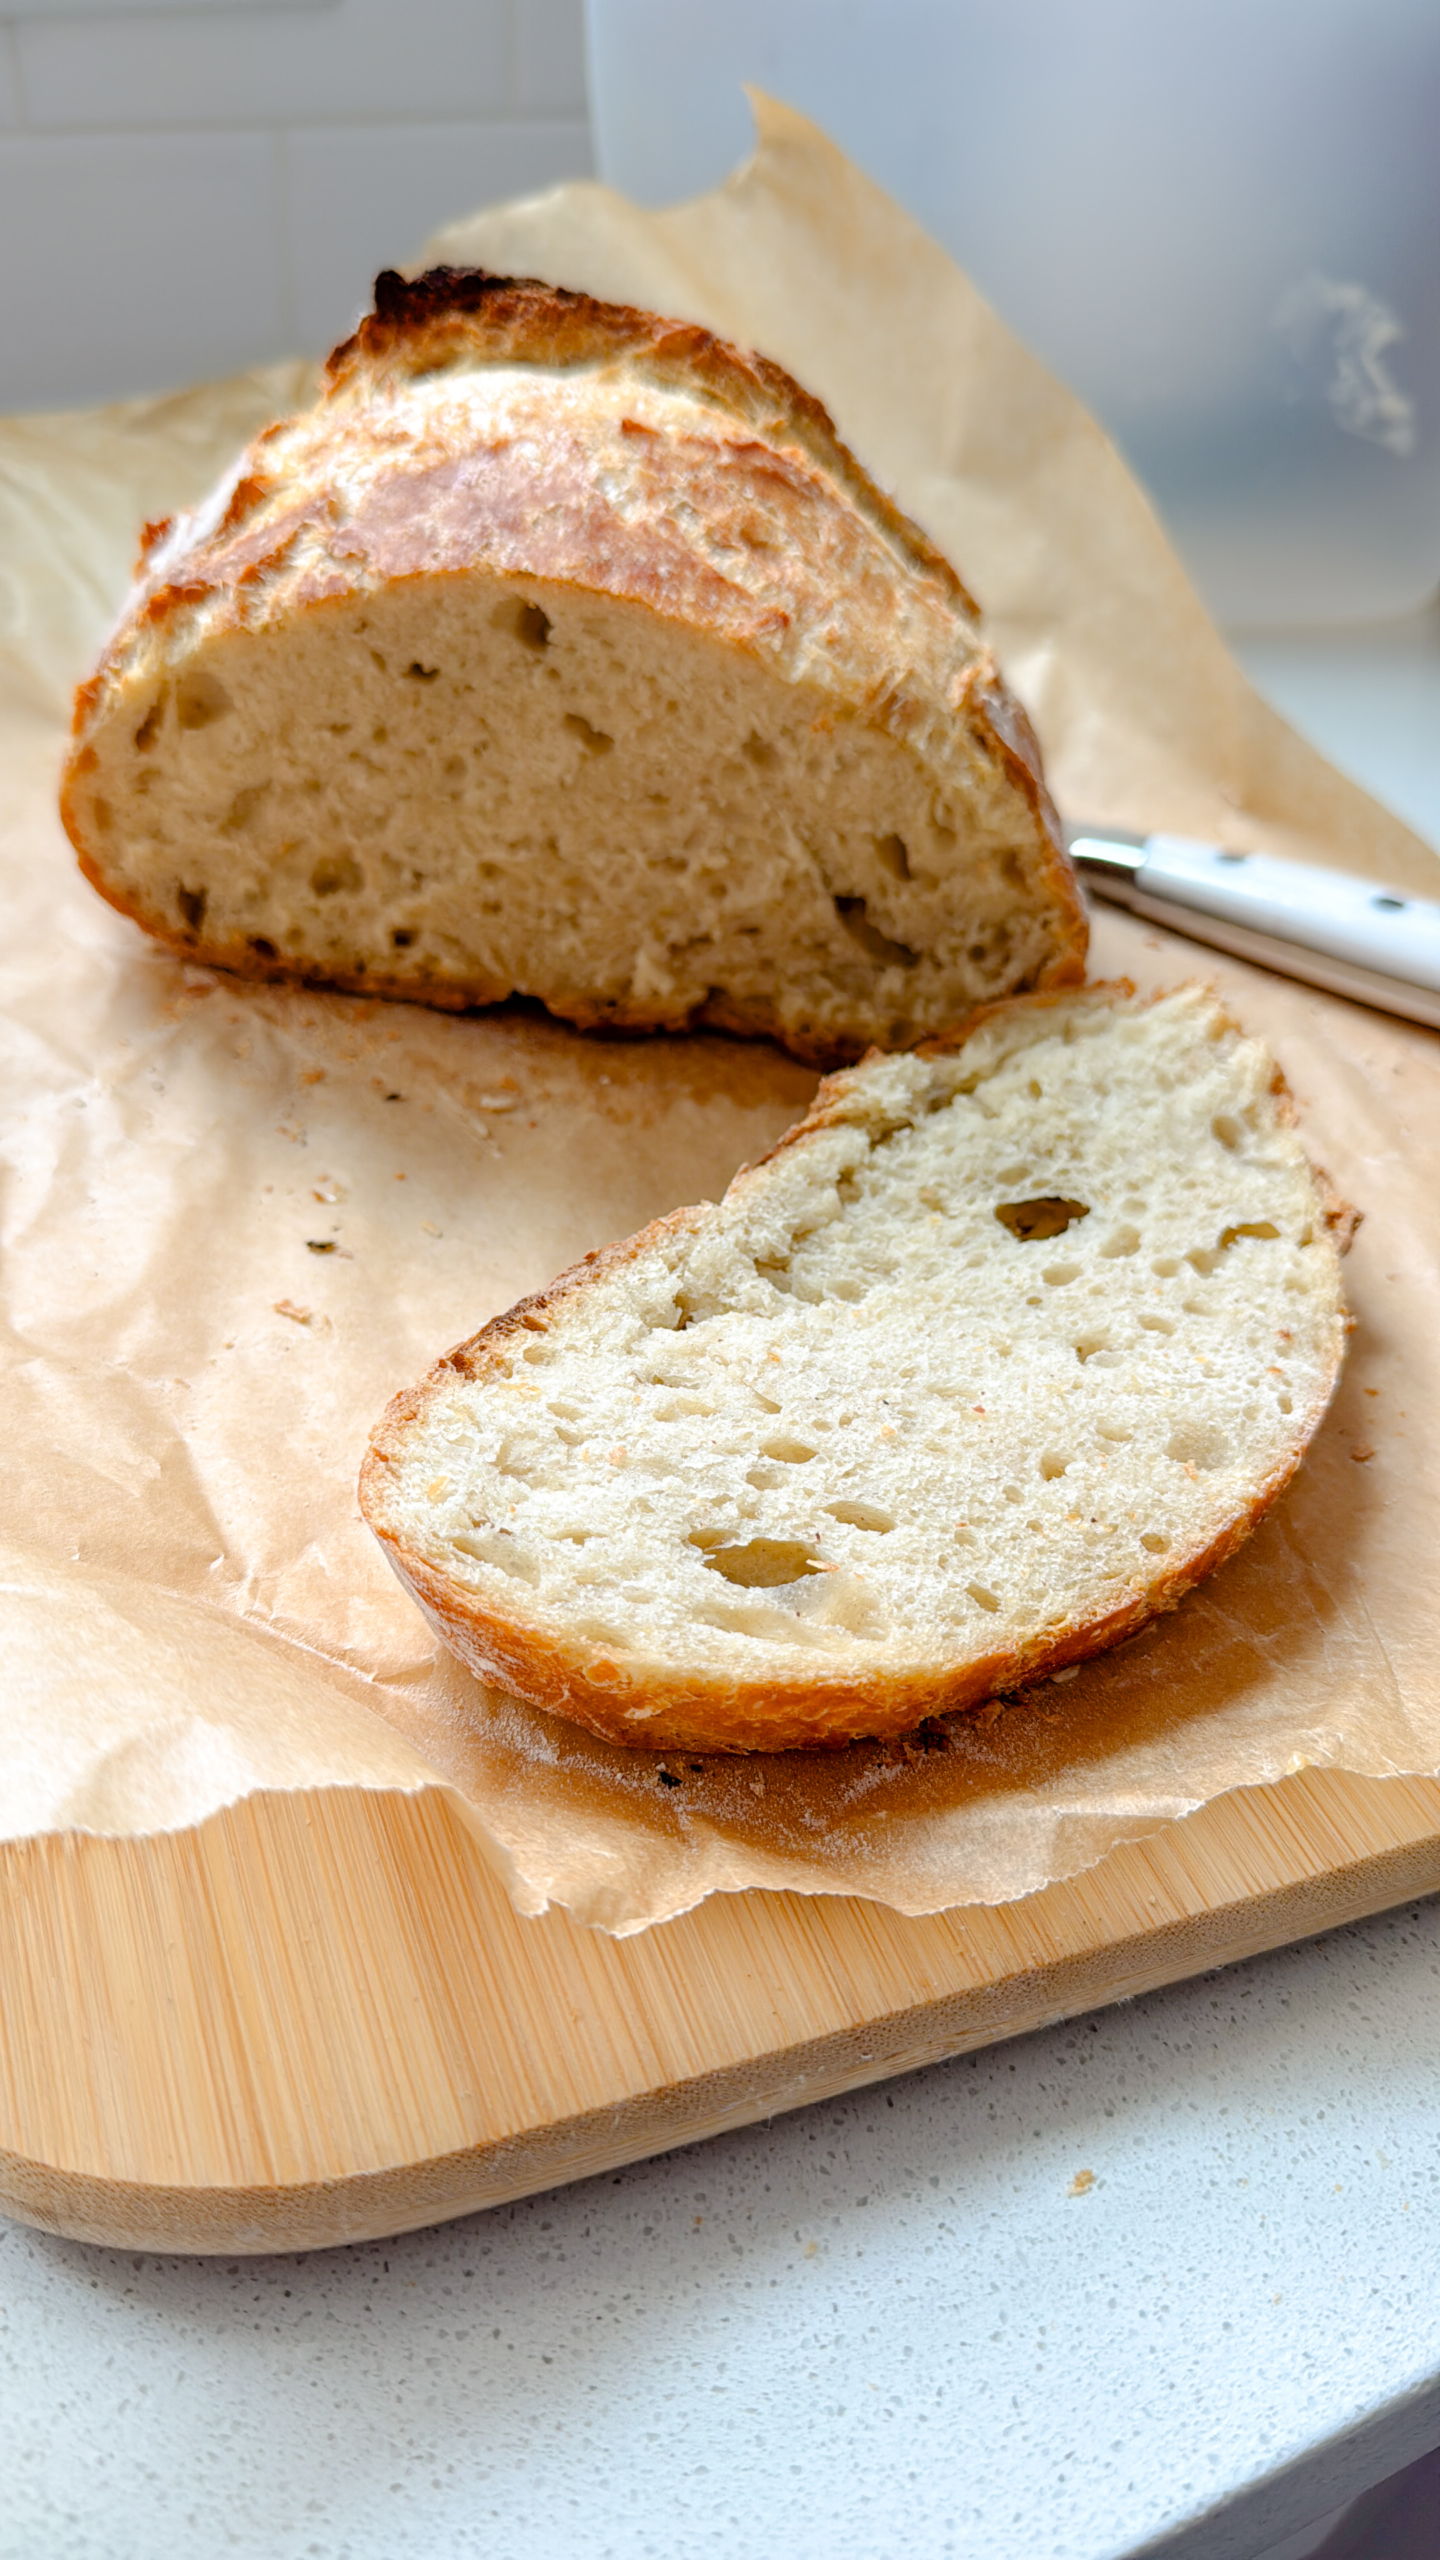
The bread came out crispy on the outside, soft and airy on the inside, and honestly — it tasted like something straight from a bakery. The best part? There’s no kneading required and no special equipment needed besides a Dutch oven or an oven-safe pot with a lid.
If sourdough feels a little too intimidating right now, this is the perfect beginner-friendly bread recipe to get you started.
Why You’ll Love This Recipe
What you’ll need for this recipe:
How to Make Easy No-Knead Bread
- Mix the dough
In a large bowl, combine the flour, instant yeast, and salt. Add the warm water and stir with a spoon until the dough comes together — it will look shaggy and sticky, and that’s okay! - Let it rise
Cover the bowl with plastic wrap or a clean kitchen towel and let it rest at room temperature for 2 to 3 hours, or until the dough doubles in size and looks bubbly on top. You can also let it rise overnight—start by letting it sit at room temperature for 3–4 hours, then cover and refrigerate. For the best flavor, keep it in the fridge for 12–24 hours. - Shape the dough
Remove the cover from your dough and lightly flour your hands. Grab one edge of the dough, stretch it up, and fold it over the center. Give the bowl a quarter turn and repeat, stretching and folding all the way around—about 8 to 10 times—until your dough feels tighter and more structured. Place it onto a floured surface, seam side down, and shape it into a round loaf. Let it rest for about 30 minutes while your oven preheats. - Preheat your oven
Place a Dutch oven (or any oven-safe pot with a lid) inside your oven and preheat to 450°F (230°C). Once preheated, carefully remove the pot and place the parchment paper with the dough inside. - Bake the bread
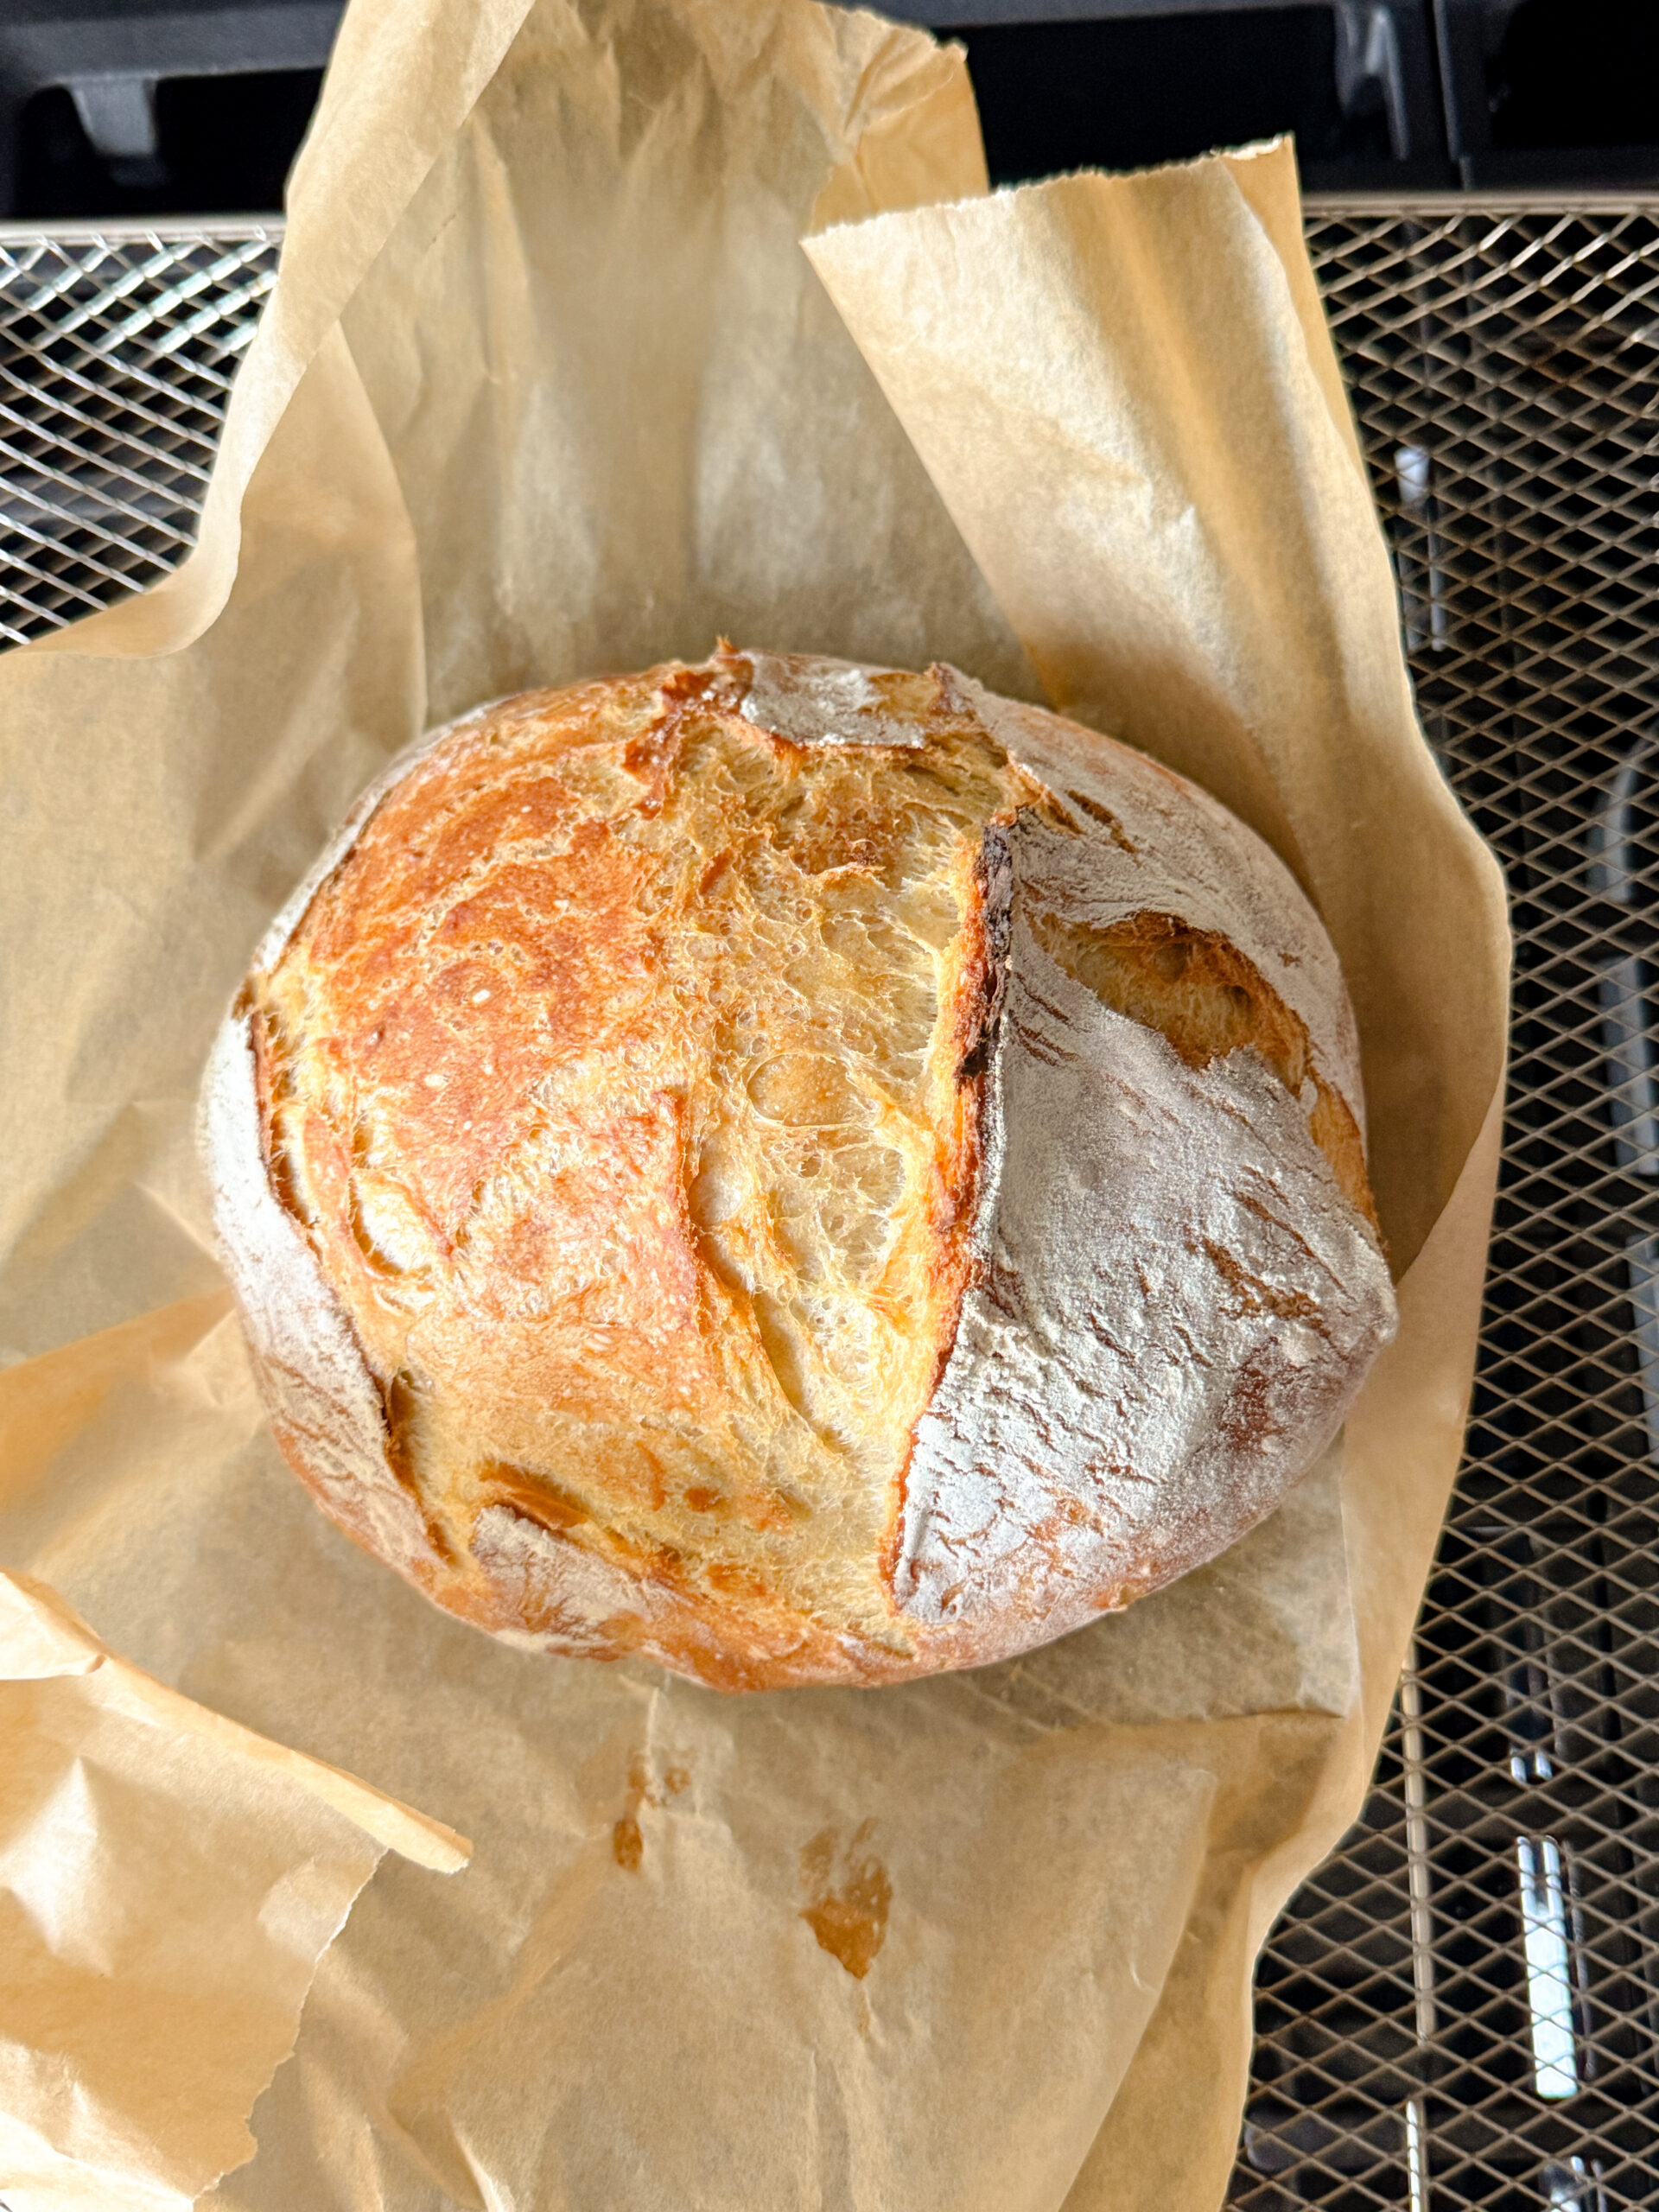
Cover with the lid and bake for 30 minutes, then remove the lid and bake for another 15–17 minutes, until golden brown and crispy on top. - Cool & enjoy
Remove the bread from the pot and let it cool for at least 30 minutes before slicing. (This helps finish the baking process inside and keeps the texture perfect!)
FAQ
More Recipes
Easy No-Knead Bread
Equipment
- Dutch Oven
Ingredients
- 3 ¾ cups bread flour 450 grams
- 2 ¼ teaspoons instant yeast 8 grams
- 1 ¾ teaspoons salt 10 grams
- 1 ½ cups warm water between 100°F and 130°F
Instructions
- In a large bowl, combine the flour, instant yeast, and salt. Add the warm water and stir with a spoon until the dough comes together — it will look shaggy and sticky, and that’s okay!
- Cover the bowl with plastic wrap or a clean kitchen towel and let it rest at room temperature for 2 to 3 hours, or until the dough doubles in size and looks bubbly on top. You can also let it rise overnight—start by letting it sit at room temperature for 3–4 hours, then cover and refrigerate. For the best flavor, keep it in the fridge for 12–24 hours.
- Remove the cover from your dough and lightly flour your hands. Grab one edge of the dough, stretch it up, and fold it over the center. Give the bowl a quarter turn and repeat, stretching and folding all the way around—about 8 to 10 times—until your dough feels tighter and more structured.
- Place it onto a floured surface, seam side down, and shape it into a round loaf. Let it rest for about 30 minutes while your oven preheats.
- Place a Dutch oven (or any oven-safe pot with a lid) inside your oven and preheat to 450°F (230°C). Once preheated, carefully remove the pot and place the parchment paper with the dough inside.
- Cover with the lid and bake for 30 minutes, then remove the lid and bake for another 15–17 minutes, until golden brown and crispy on top.
Notes
- Use warm water, not hot: Hot water can kill the yeast. Aim for around 110°F.
- Don’t rush the rise: The longer the dough rests, the better the flavor and texture. I like to let it sit in the fridge for 24 hours.
- For extra crunch: Let the bread cool completely before slicing.
- Store it right: Wrap in a clean kitchen towel or store in a paper bag for up to 2 days.
Did you make this recipe?
We’d love to see! Tag @linacooksclean on Instagram! #linacooksclean